The kitchen renovation

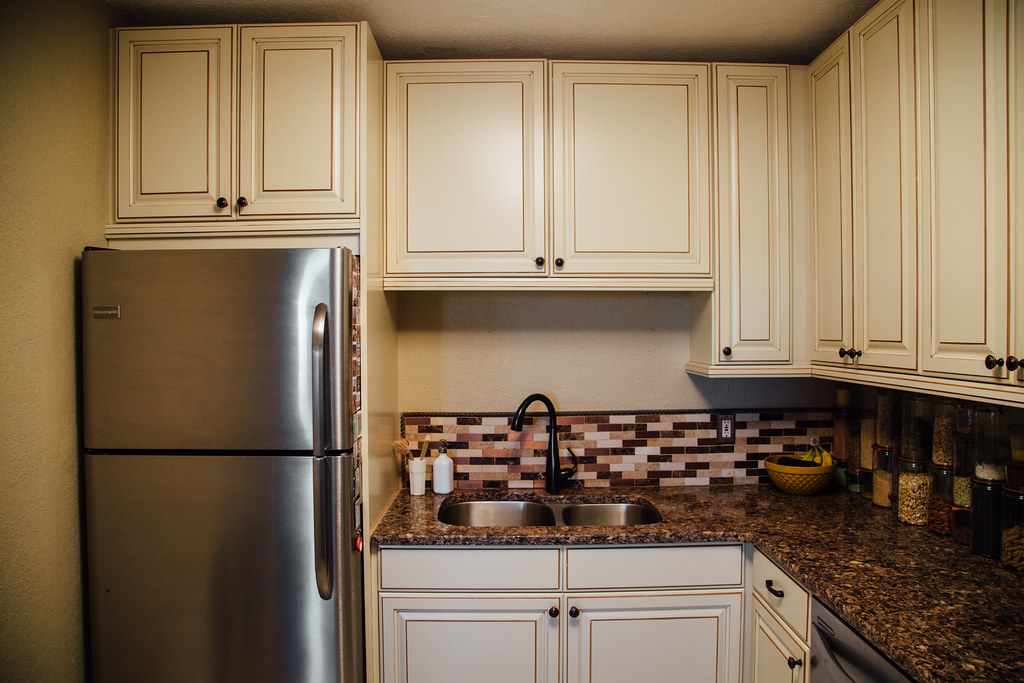
When we bought our place two and a half years ago, we had zero intentions of staying in the Mile High City much longer. Which probably sounds crazy but, at the time, the rental market in Denver was exploding and we really wanted to lay down roots in the city. Despite knowing that it wasn't going to be our home for long, I had a laundry list of requirements - top floor corner unit, two bedrooms, considerable storage, hardwood floors, original features, etc. And while our place checked all the boxes, the one thing that didn't make the cut was the kitchen. The previous owners renovated it just before putting it on the market and, although it was a few steps up from the original kitchen (even that's a stretch), it was dark, the finishes were cheap, and it just didn't flow well with the rest of the space. Had we been planning to stay in Denver, the kitchen would have been a deal breaker. But since we weren't, we signed our life away and got the keys, and I lived with the kitchen but spent a lot of time dreaming about what I'd do if we ever got the chance to renovate it.
As it turns out, we wound up staying in Denver for reasons you'll hear about in a few weeks. And I went full-force with my ideas for the kitchen renovation even though there was a part of me that saw the renovation as impractical (and wasteful) given that everything was brand new when we moved in. But another part of me - the homebody part - that knew I could never be fully satisfied cooking (and working) in that moody Tuscan kitchen. So when I was contacted by a woman who wanted to take everything from the kitchen - right down to the backsplash and outlet plates - and repurpose it for a mother-in-law suite, I knew it was time to take the leap.
So we did.
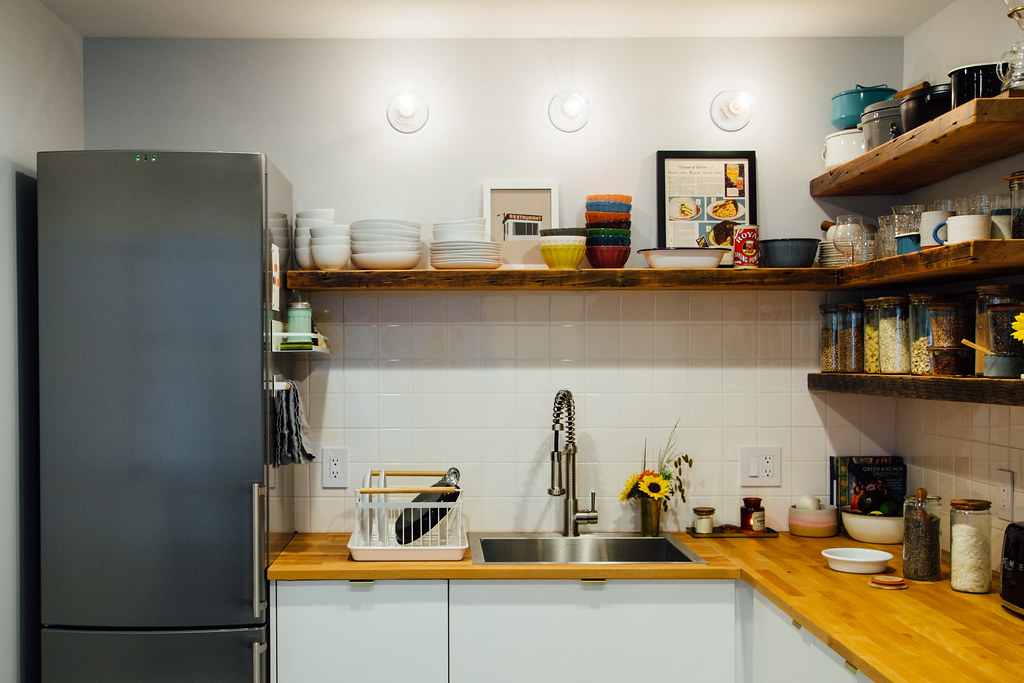
Thom wanted a pantry, I did not (because $$$). I wanted a funky, cement tile floor, Thom did not (because $$$). He was all about some subway tiles and I was on the fence (but, somehow, still convinced that subway tiles were the way to go). We both wanted white cabinets, stainless steel appliances, and a small eat-in area. The other things on my wish list? A narrow cabinet for cutting boards and rolling pins, wood shelves to bring in some texture, and three light sources because 1) our kitchen is a dungeon and 2) I like having options. As for Thom's wish list, the dude just really wanted a pantry. So once we made up our minds on the finishes, we had a designer (HI ANNA) bring our vision to life, and it was then that I changed my mind about subway tiles, visible shelf brackets, corded pendants, and partial-upper cabinets. I thought I knew what I wanted but then I saw it on paper and I was like WAIT. NO. THIS IS TERRIBLE.
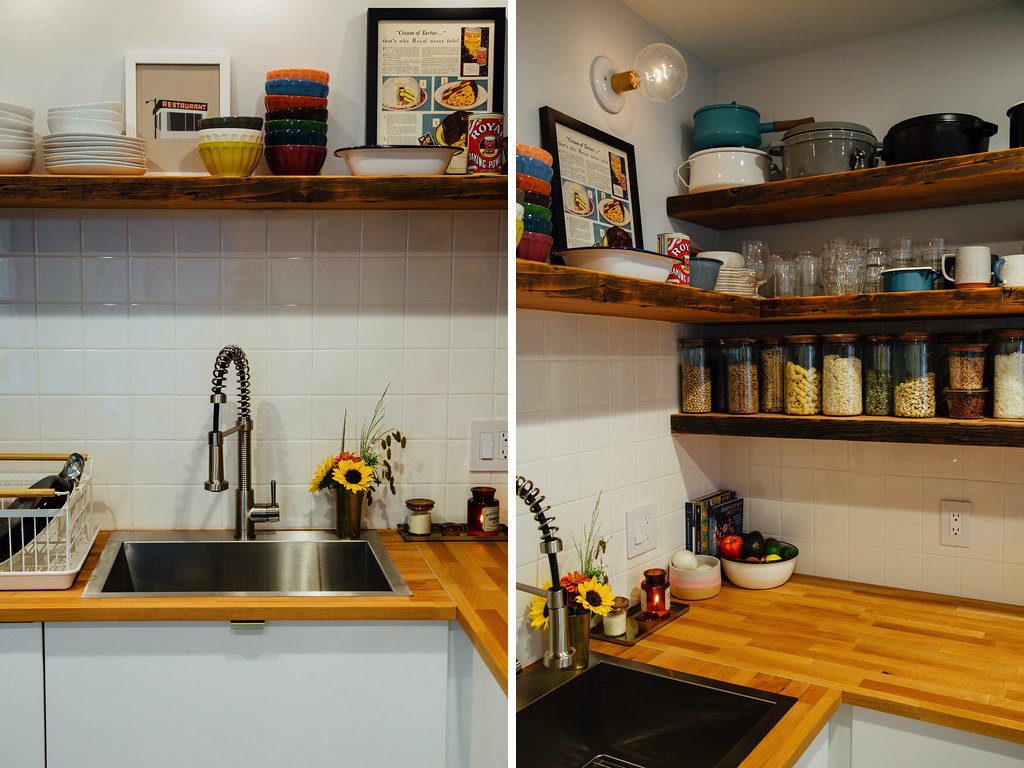
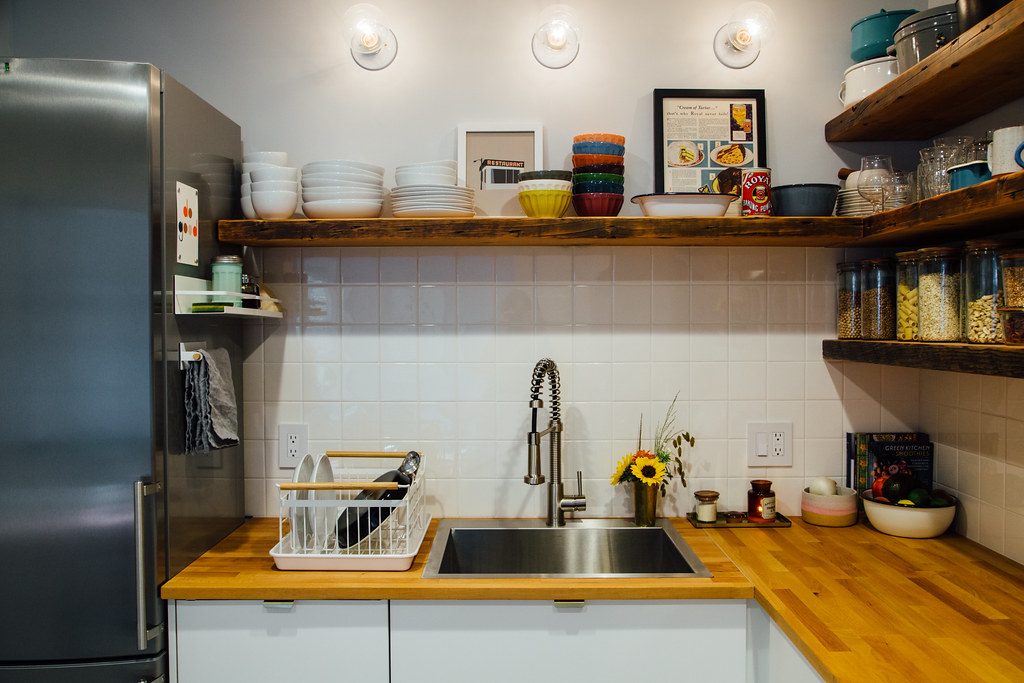
After seeing the rendering, I also decided to throw in some subtle brass elements and go a little more rustic with the exposed shelving because, even with the butcher block countertops and coordinating shelving, the kitchen felt cold. We also saw the potential to maximize the kitchen's footprint, so we went from a 36" sink cabinet to a 30" sink cabinet and, as a result, managed to squeeze in an 18" dishwasher (which meant the dishwasher could be right next to the sink).
Aside from maximizing square footage and making the layout more functional, we also wanted a space that was geared towards left-handed folks (we're both lefties) and designed with taller people in mind (Thom's 6'3"). And although designing a space for a taller person made for some off-balance visuals, I'm almost always willing to sacrifice aesthetics for things that are practical and/or serve a purpose. The XL overhang? Not a big deal if it means we can sit together without bonking knees. The negative space around the sink and range? Totally fine with me if it means Thom's going to feel more comfortable using our kitchen. At the end of the day, that's what mattered most - that our new space was functional.. for both of us.
THE BIG CHANGES
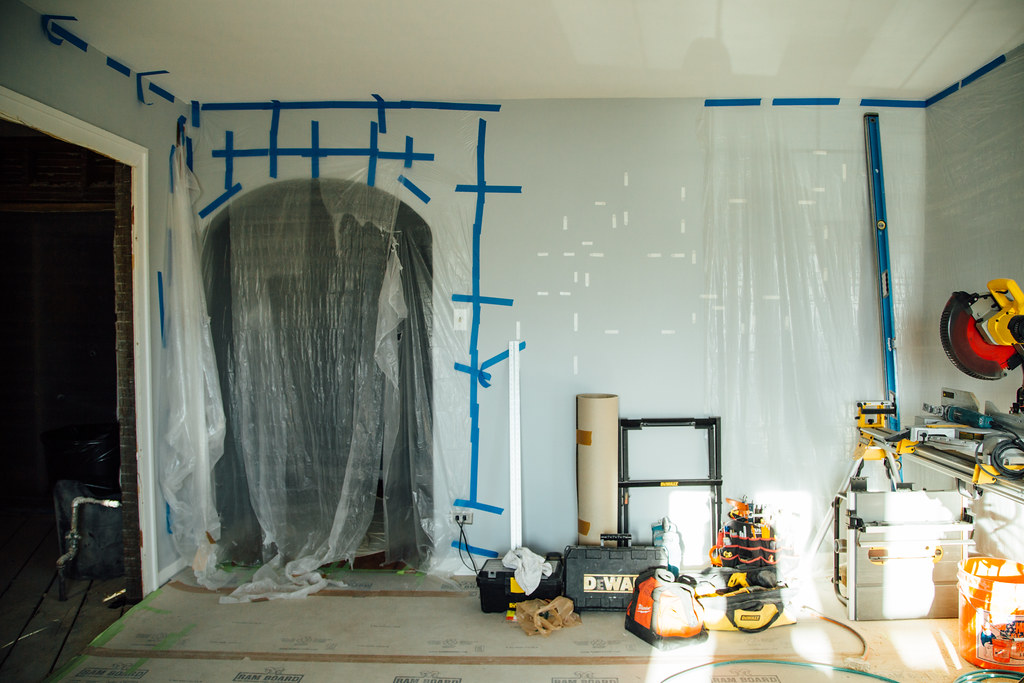
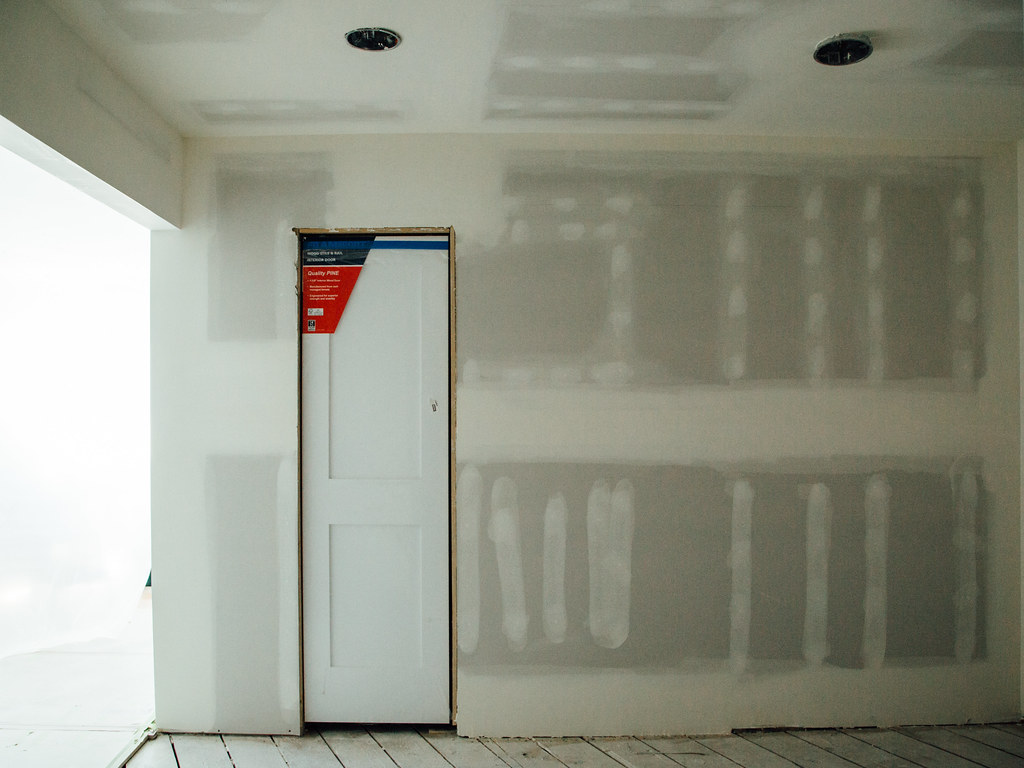
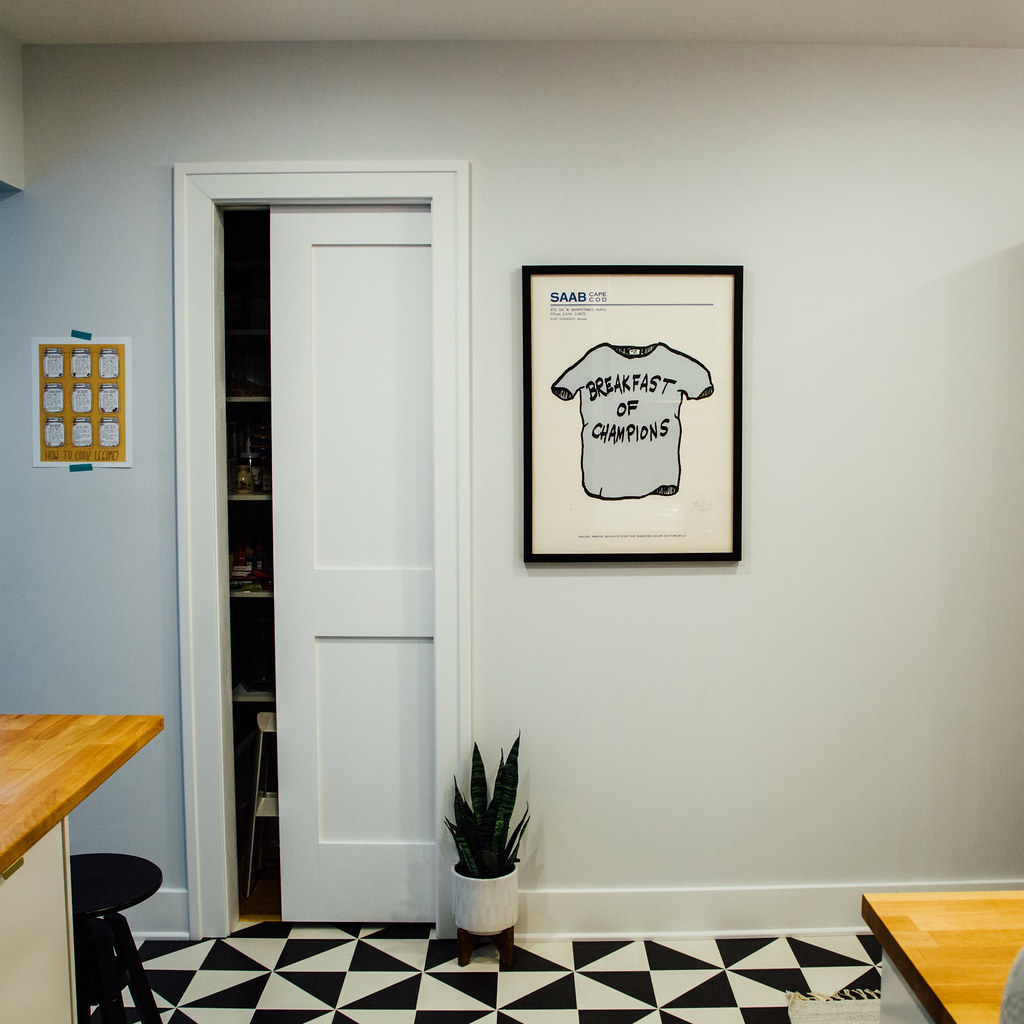
- Aside from tearing the space down to the studs, adding a pantry was probably the biggest addition to the kitchen. We had our GC (HI CHRISTIAN) seal off the nook in the spare bedroom and reframe the wall in the kitchen to add a pocket door. And I dragged my feet the entire time because WE DON'T NEED A FUCKING PANTRY, THOM.
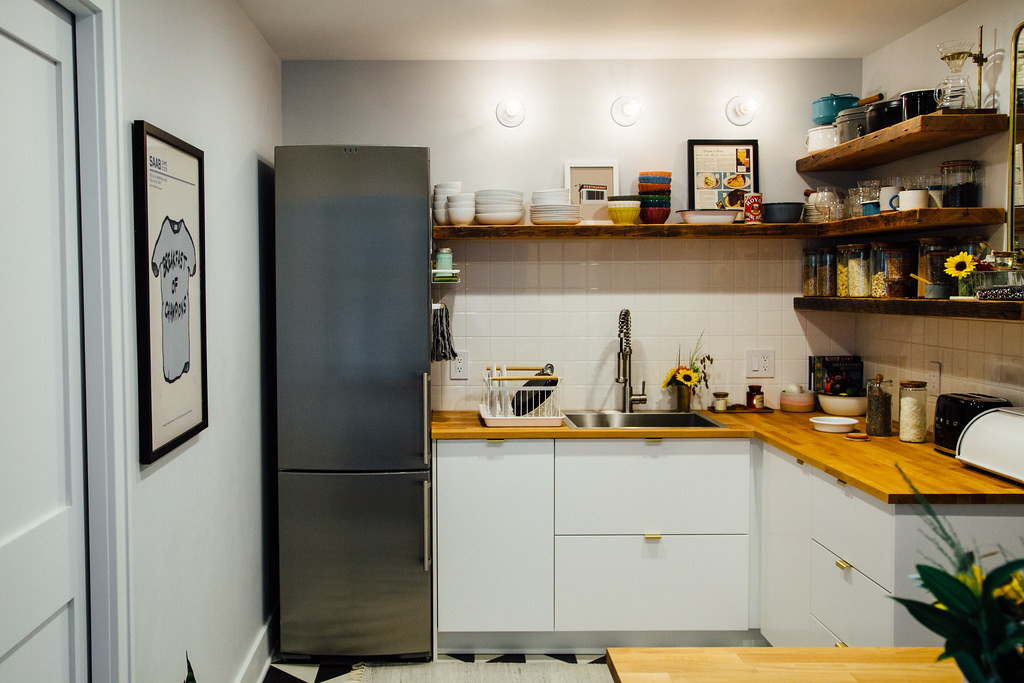
- To maximize cabinet (and counter) space, we had our GC tighten both entrances (by a few inches each). This allowed us to squeeze in wider cabinets and reduce the amount of wasted space. - We swapped the standard American-sized refrigerator and dishwasher for the European size. We went from a 30" 23 cuft refrigerator to a 24" 12 cuft refrigerator (we haven't had any issues with space.. yet) and from a 24" dishwasher to an 18" dishwasher (but it has a cutlery tray so I kind of feel like we're cheating).
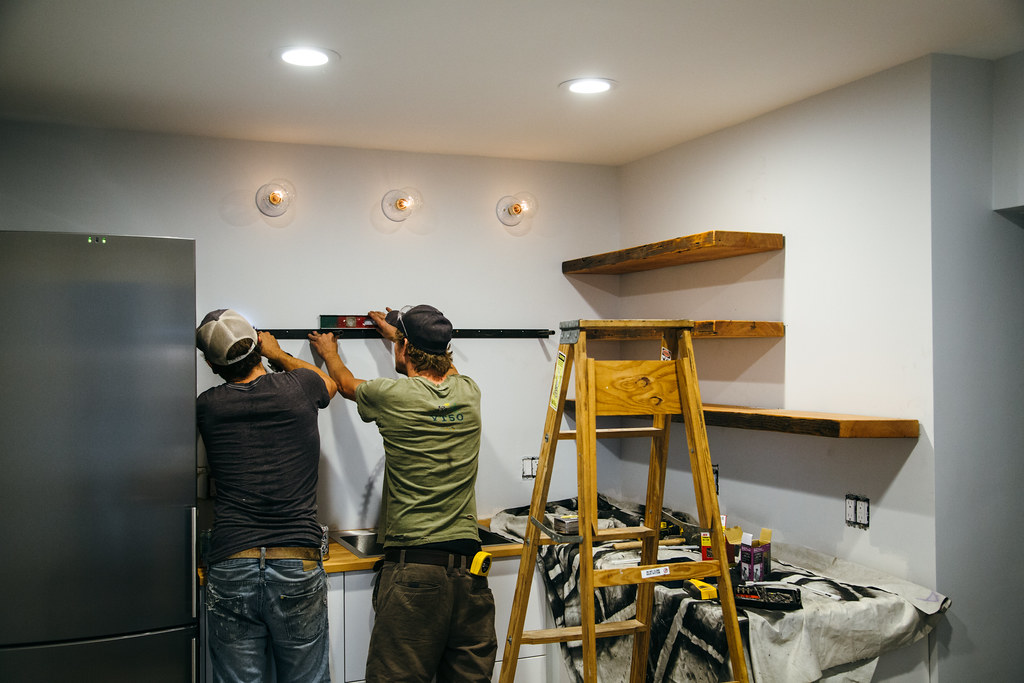
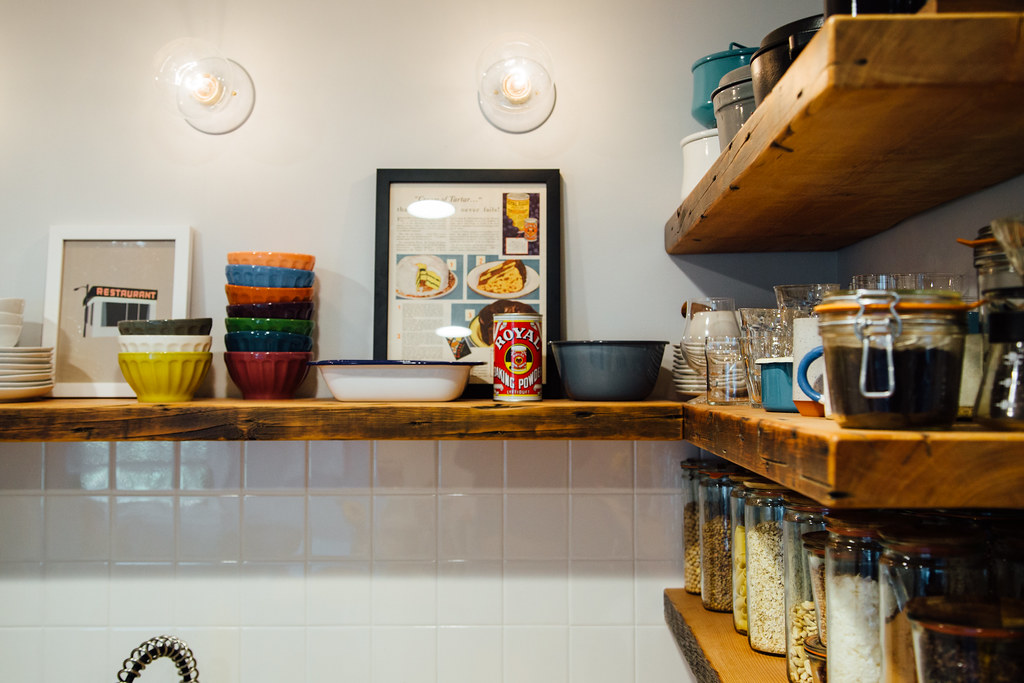
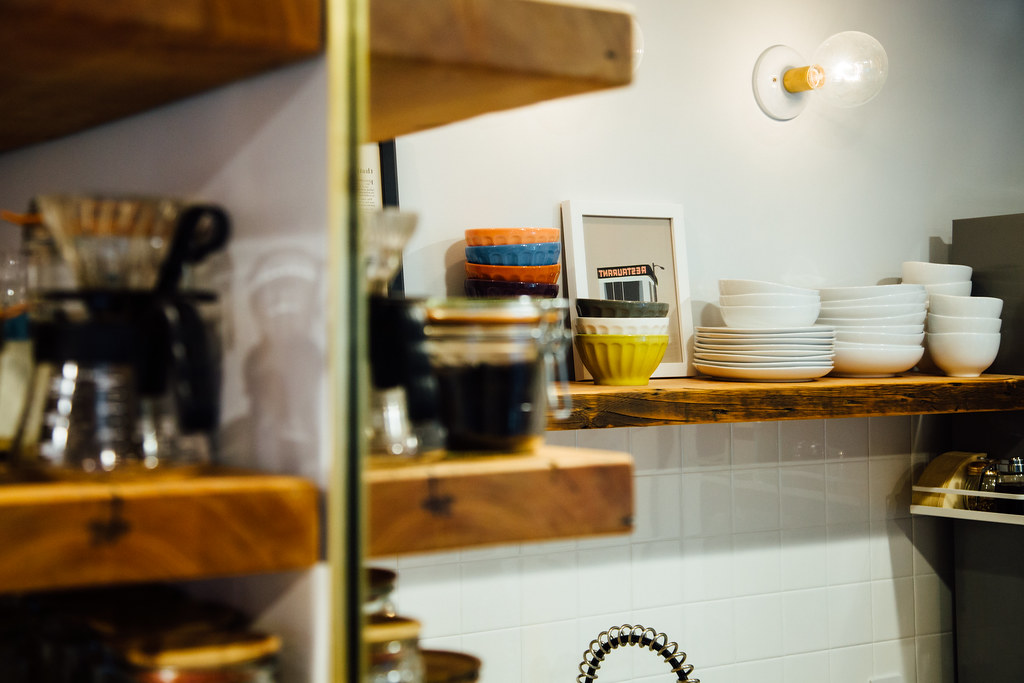
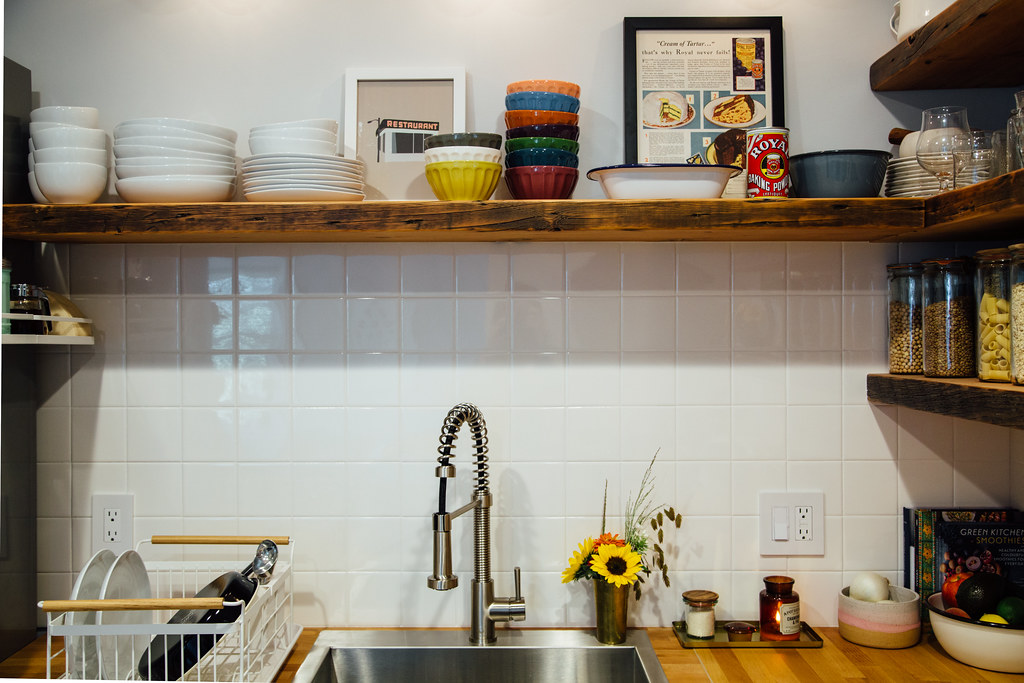
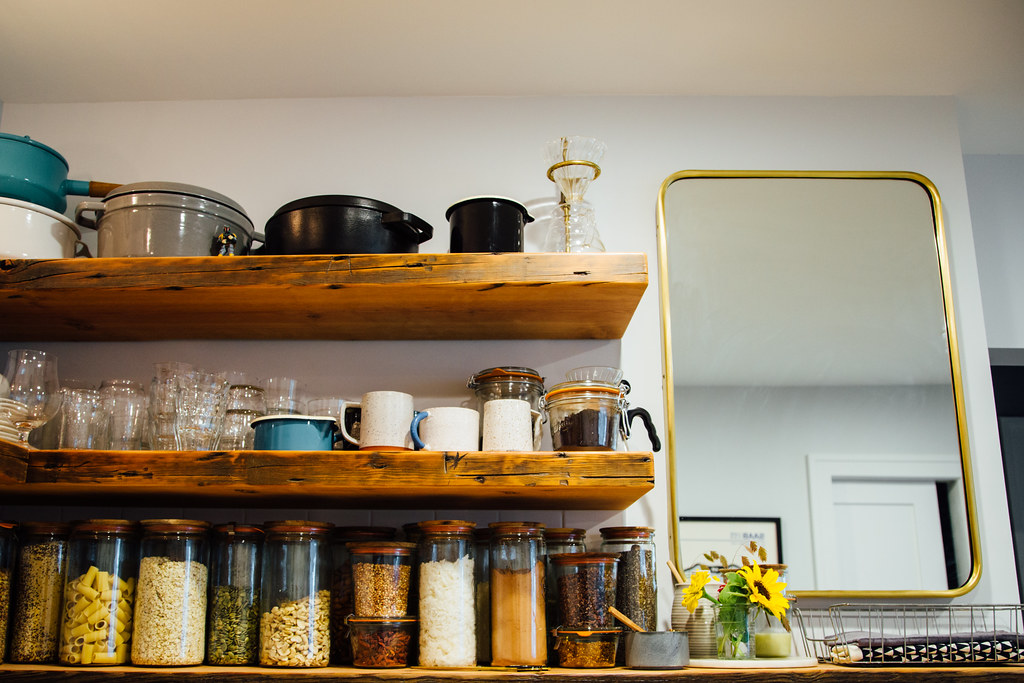
- We decided to swap the upper cabinetry with open shelving (it took me forever to decide on a configuration, and even when I did I still wound up changing my mind in the end). And no, we haven't had any issues with dust.. but everyone loves making comments about that. ;)
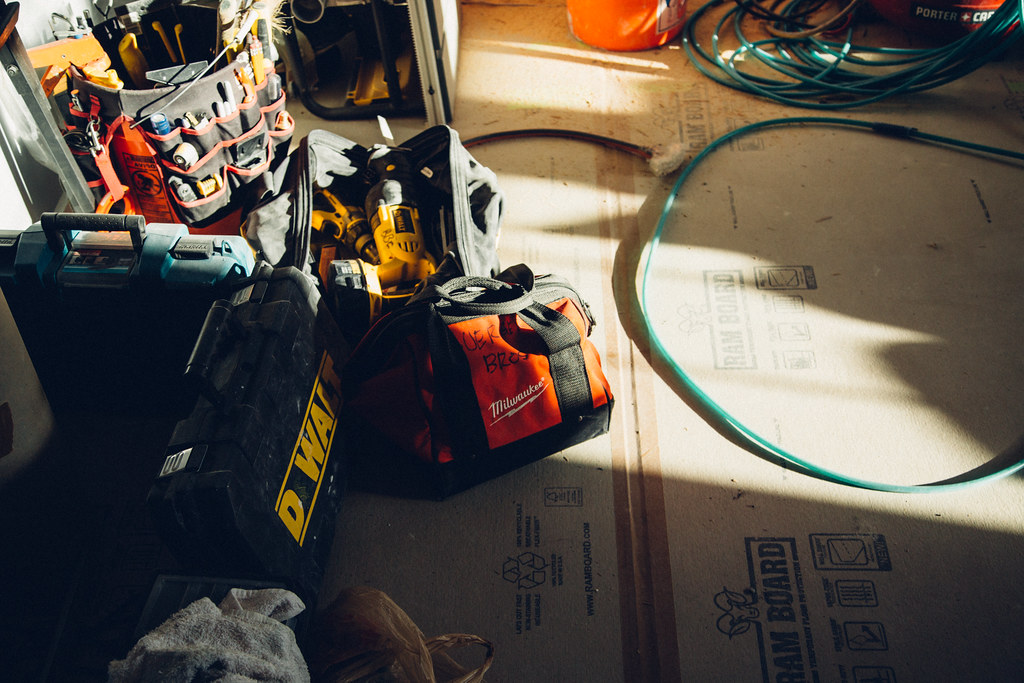
A few things to keep in mind: 1) Murphy's Law. We found a cement wall (which meant we lost three inches on the east/west span and had to reconfigure the layout), silicate minerals, a seriously sagging ceiling, and - just when we thought things couldn't get any worse - we discovered extensive water damage in our spare bedroom. Each of those things added to the renovation time. And that last one put the renovation on hold for a whopping six weeks. While the cement wall was enough to drive me to the loony bin, I eventually learned to embrace the chaos and roll with the punches because there's really not much you can do except pay someone to remedy the situation and move on. 2) You sacrifice quality when you DIY. Sure we could have demolished the old kitchen, rebuilt the walls, and moved the gas line ourselves - but it would have taken us 3x longer and there's a pretty big chance we would have screwed up something along the way. 3) Do what you can but know your limits. Thom installed the cabinets, cut the countertops, and installed the sink so we could save some cash to splurge on a fancy dishwasher and a crazy-expensive cement tile floor. Worth it? Worth it.
Things we still need to finish: stain the reducer strips, find brass hardware for the pocket door, hang a brass rail to the left of the range, find stools (had my heart set on these and then they sold out) (still regret not snagging them), and maybe (maaaybe) add a narrow countertop table like this next to the pantry (and beneath the Vonnegut print) because I'm a firm believer that there's no such thing as too much storage space. Especially when you're someone who has four sets of nesting mixing bowls and a few too many cake stands.
More before photos: 1 / 2 / 3 / 4 / 5
Big thanks to Lowe's, Rejuvenation, Shelfology, Industrial Light Electric, and Yamazaki for helping to make this renovation a little easier on our bank account.


If we had to go back and do the renovation again, we'd find a different sink (it took three sinks before we got one that wasn't warped) because the rim scratches so easily. I'm also not 100% sure I'd go with the cement tile floor because it's super high maintenance. As in, clean the floor every damn day-high maintenance. But then I look at it and of course I'd do it again! Because HAVE YOU EVER SEEN A MORE BEAUTIFUL FLOOR? I'd also build in the refrigerator to utilize storage on top (though that is something we could still do) (but we probably won't because we're lazy).
SOURCES
KEY ELEMENTS
Diagonal black and white cement tiles
Sektion base cabinetsEdge pulls via Rejuvenation
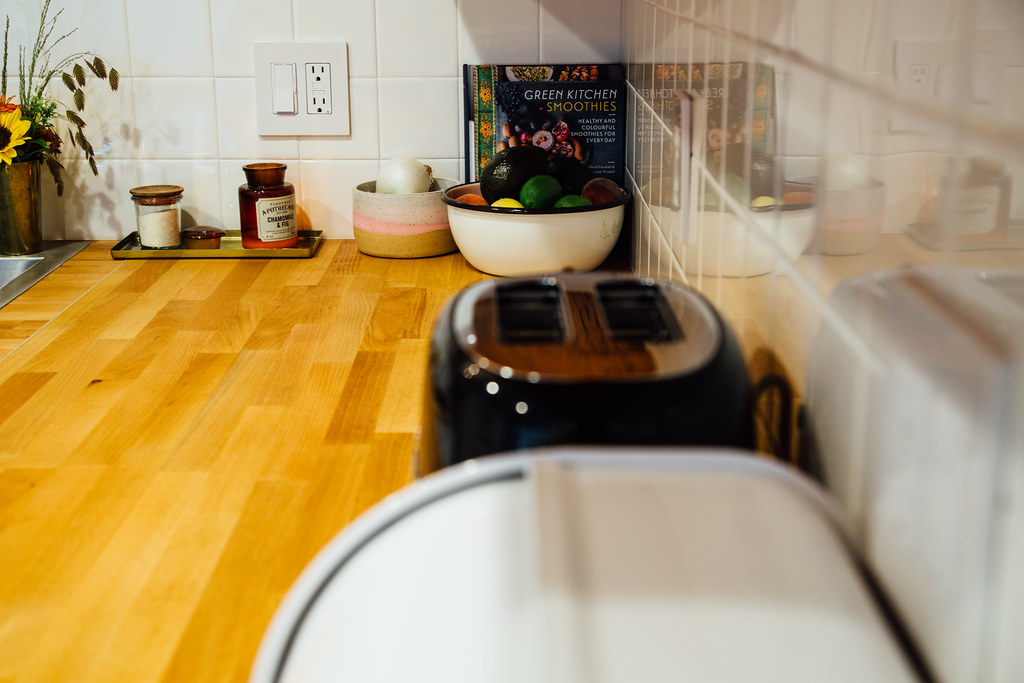
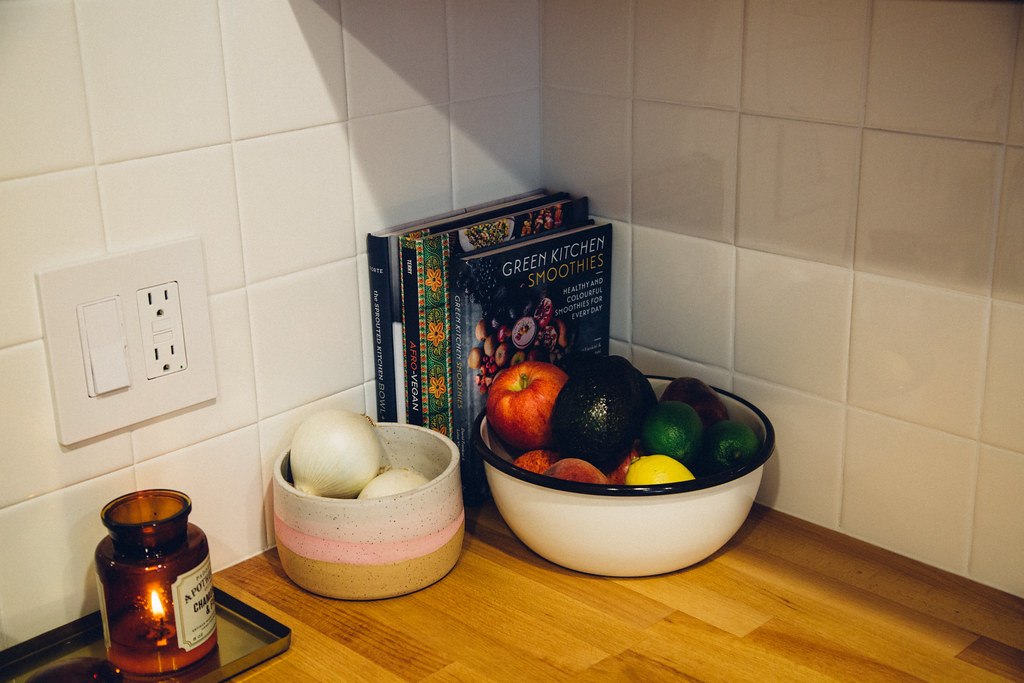
Hammarp beech countertops
Summit Appliance 24" refrigerator
Miele fully-integrated slimline dishwasher
5-burner slide-in convection gas range via Lowe's
Convertible wall-mounted range hood via Lowe's
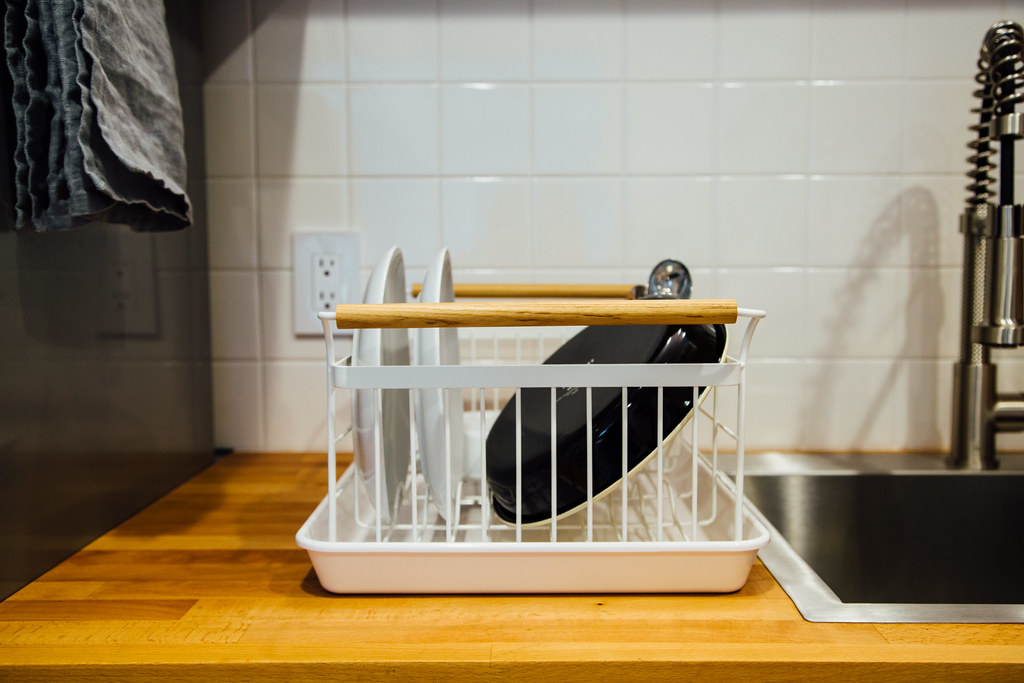
Drop-in stainless steel sink via Lowe's
Stainless steel pull-out faucet via Lowe's
Heavy-duty floating brackets (for the shelving) via Shelfology
Custom Douglas Fir shelving via Fin Art Co.
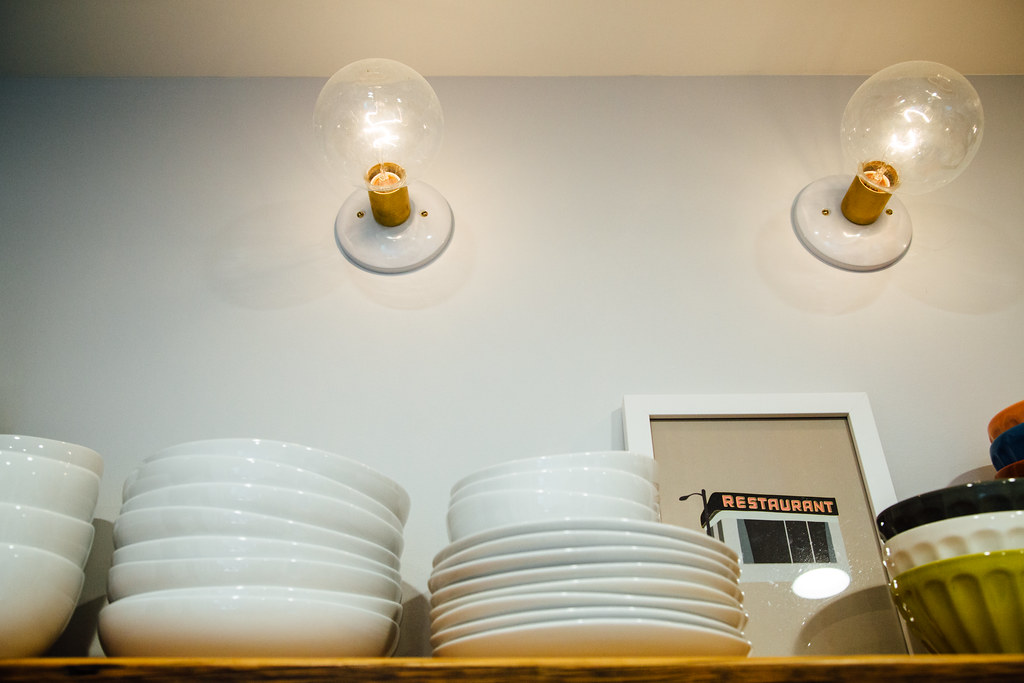
Brass wall sconces via Industrial Light Electric
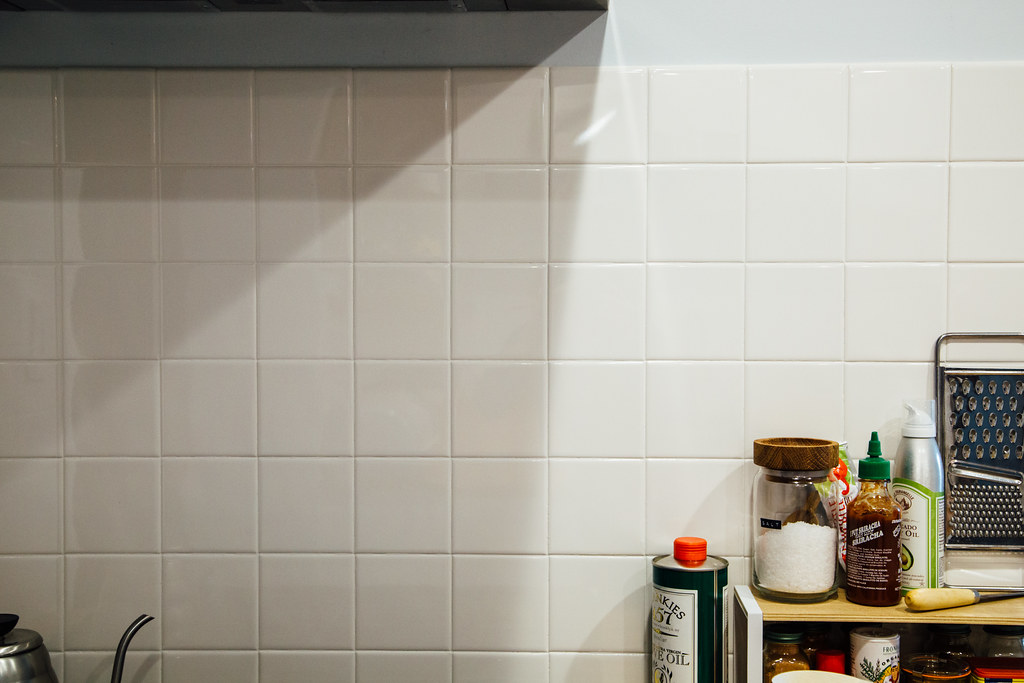
Semi-gloss backsplash tiles
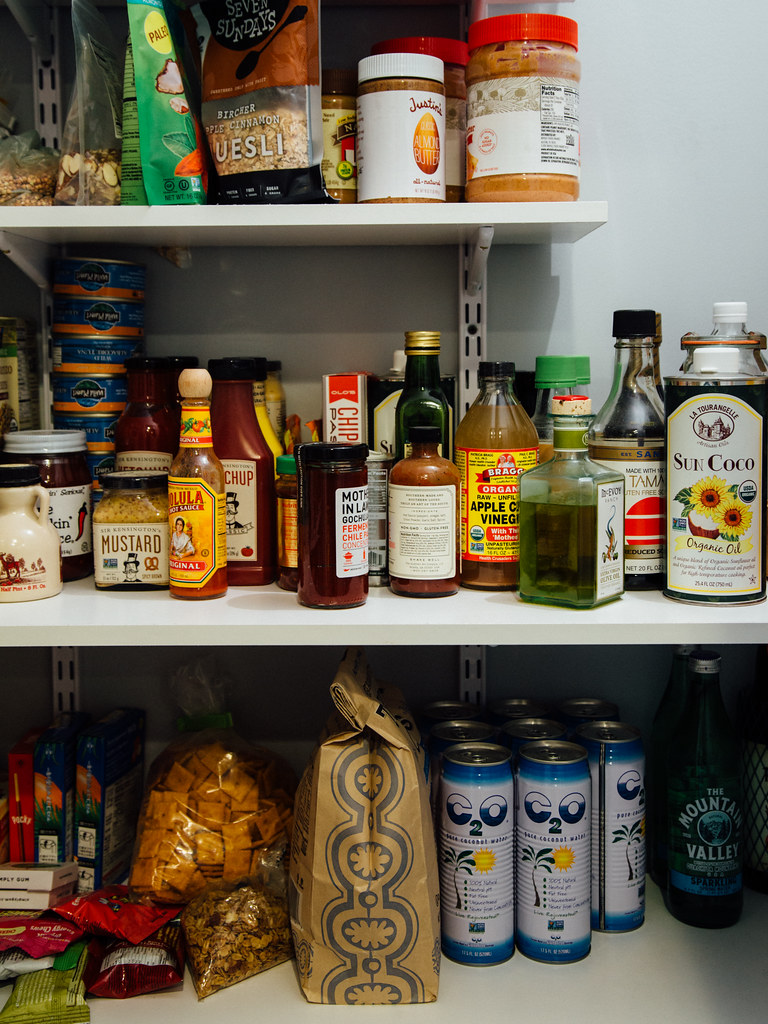
PANTRY
Heavy-duty standards and brackets
Laminate shelf boards via Lowe's
Lucano 2-step stepladder via Rejuvenation
ON THE SHELVES
Organic shaped dinnerware
Latte bowls
Prep set
Pie set
Round cocottes (4QT + 7QT)
2QT saucepan
4QT casserole
Brass pour-over coffee dripper
Weck jars
ART
Saab Breakfast
Monks
Vintage Royal baking powder advert (printed the same year our building was built!)
How to cook legumes poster
Do good
MISCELLANEOUS
Benjamin Moore paint in whitestone
SMEG toaster
Deluxe bread bin via Rejuvenation
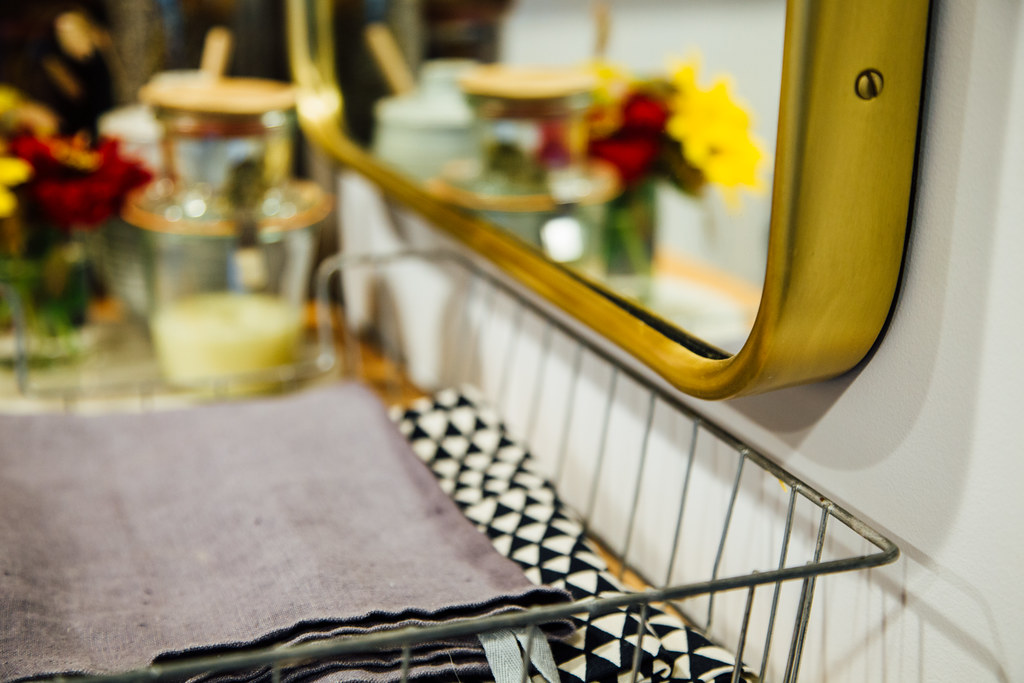
Dish rack via Yamazaki
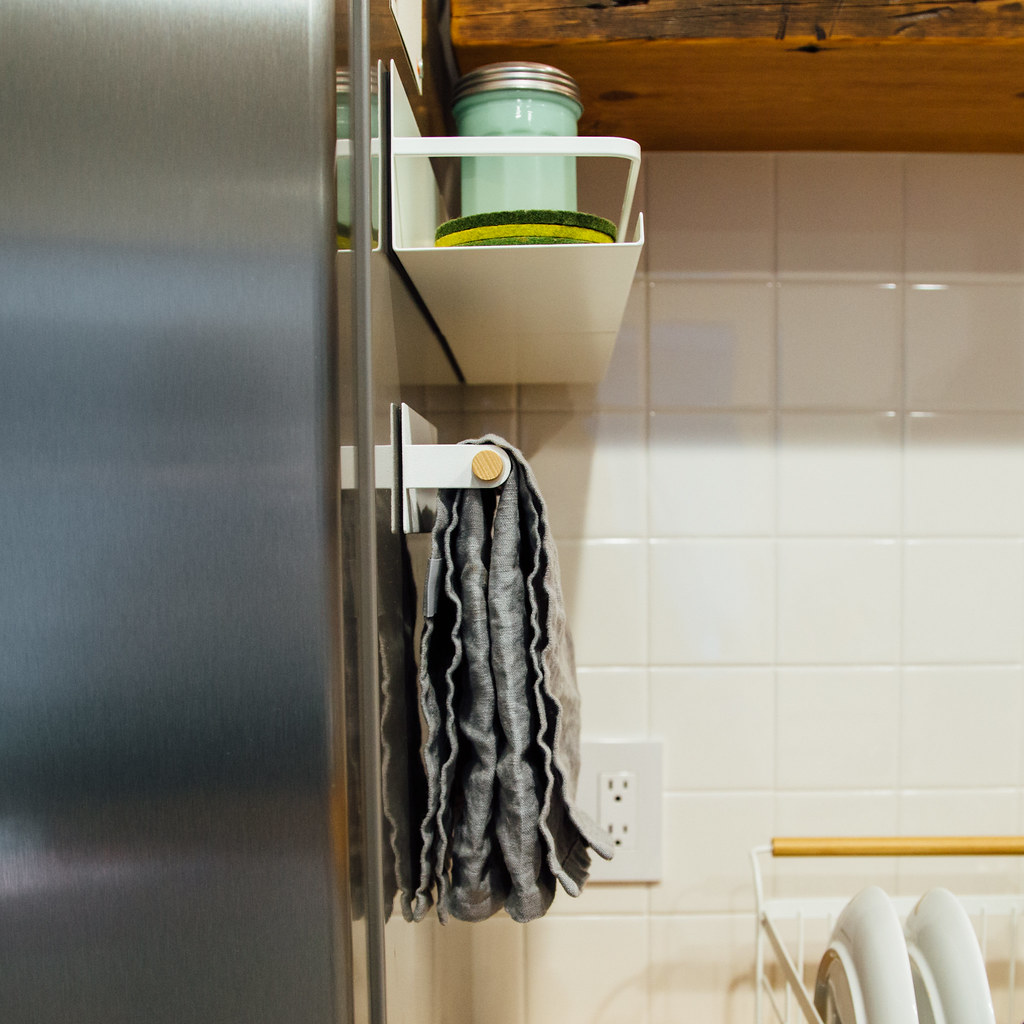
Magnetic towel hanger via Yamazaki
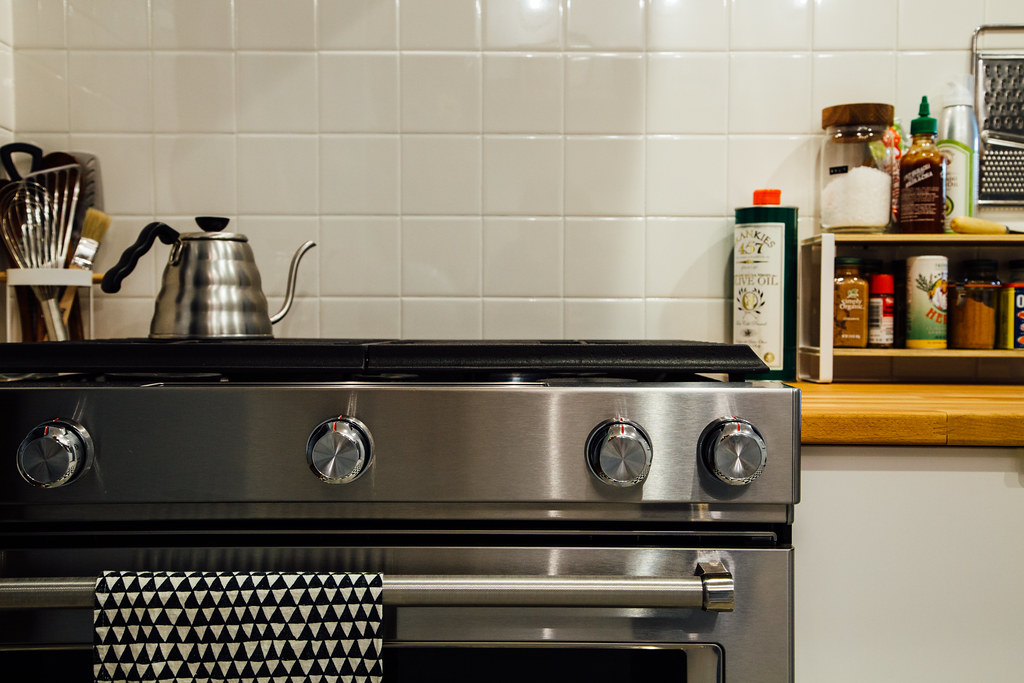
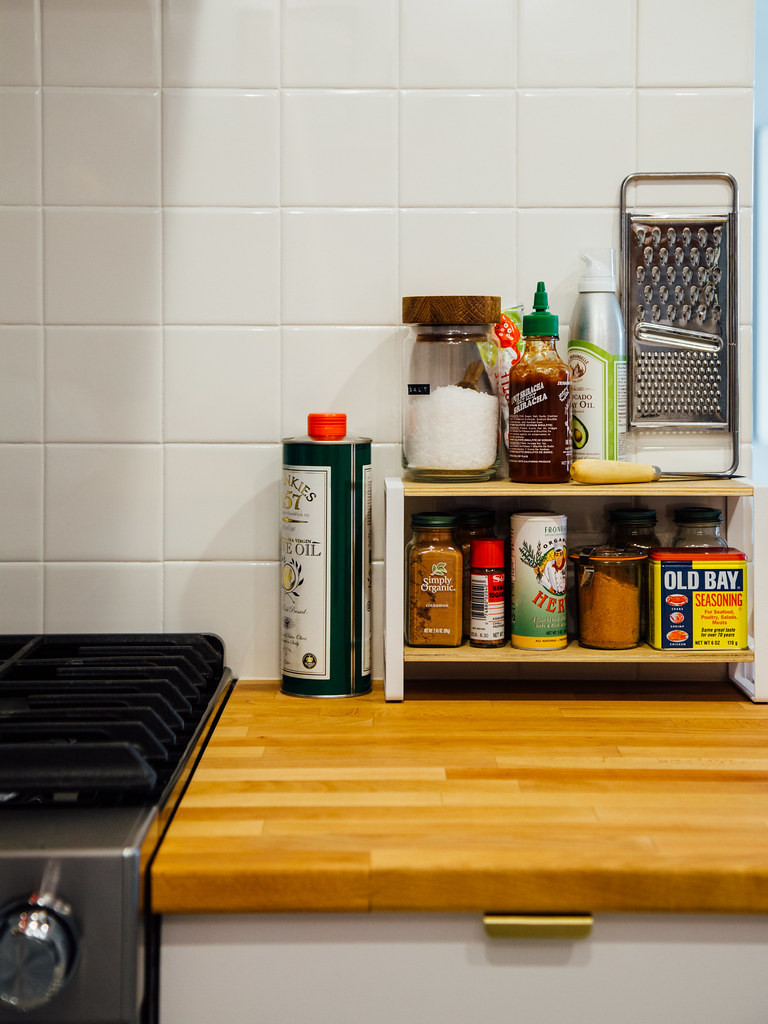
Magnetic spice rack via Yamazaki
Metal framed mirror via Rejuvenation
Tool stand via Yamazaki
Kitchen rack via Yamazaki
Big thanks to Lowe's, Rejuvenation, Shelfology, Industrial Light Electric, and Yamazaki for helping to make this renovation a little easier on our bank account.